RadioDJ is free radio automation software for Windows. It plays your music, jingles and commercials from your own computer on a schedule you set. Recent versions of RadioDJ do not stream by themselves. Instead, RadioDJ plays through a virtual audio device and a separate free encoder, such as BUTT, picks that audio up and sends it to your station. This guide sets up all three pieces.
Before you start. RadioDJ plays from your own computer, so the computer must stay on, awake and connected for as long as you broadcast. It is a larger setup than the other programs, and menu names can differ slightly between versions. Check the system requirements on the RadioDJ download page first: it needs Windows 10 or 11, and the current version also needs .NET Framework 4.7 or newer.
Radio automation with scheduling for shows, jingles and commercials, plus a built-in audio compressor. Windows.
Where to find your connection details
Every program on this page needs the same five details to reach your station: a server address, a port, a username, a password and a mount point. You copy them from your control panel. It takes about a minute, and you only need to do it once for each program.
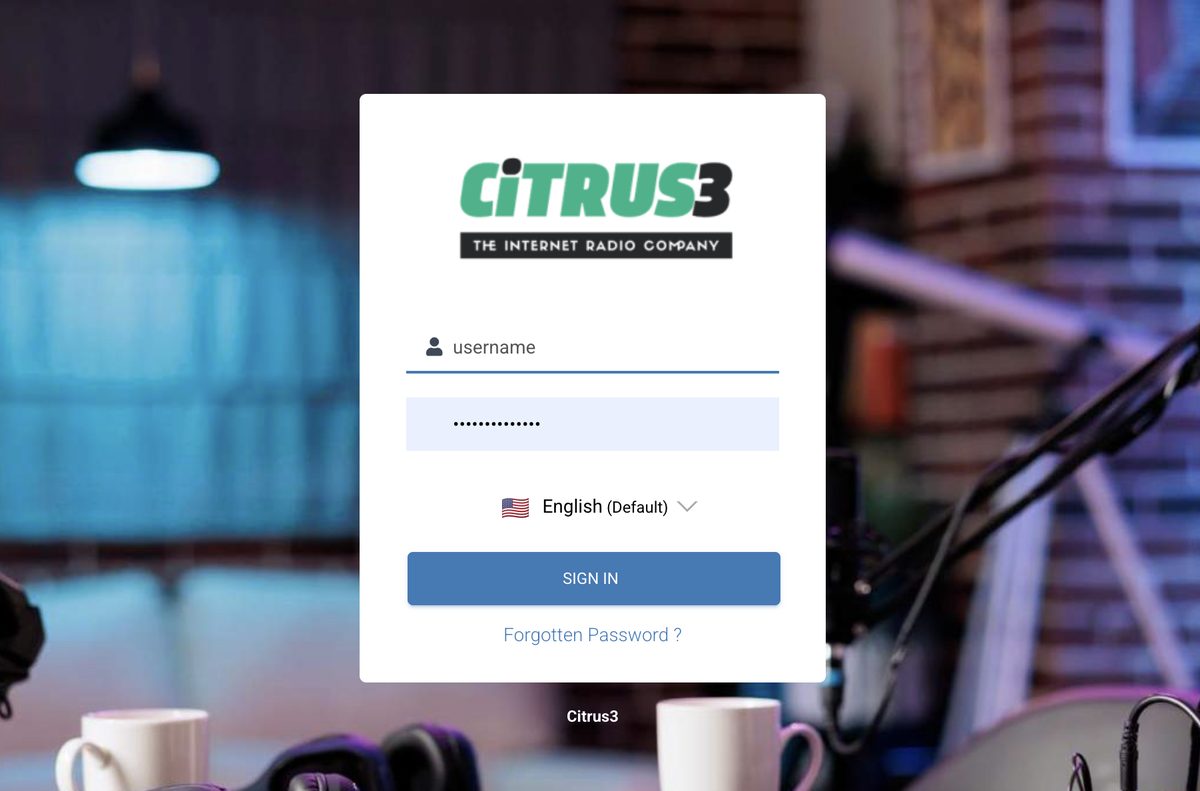
1. Log in to your control panel
Use the control panel link and the username and password from your welcome email.
2. Go to the dashboard and click How to connect
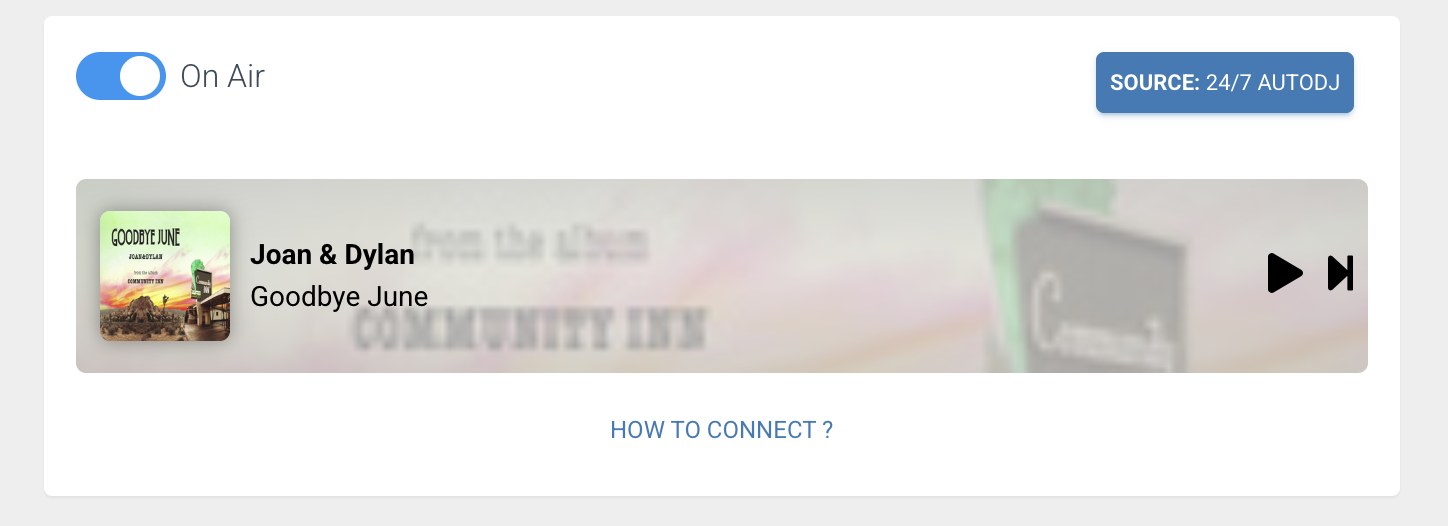
After you sign in you arrive at the main dashboard. Next to the preview player you will see a blue link called How to connect. Click it.
3. Copy your five details
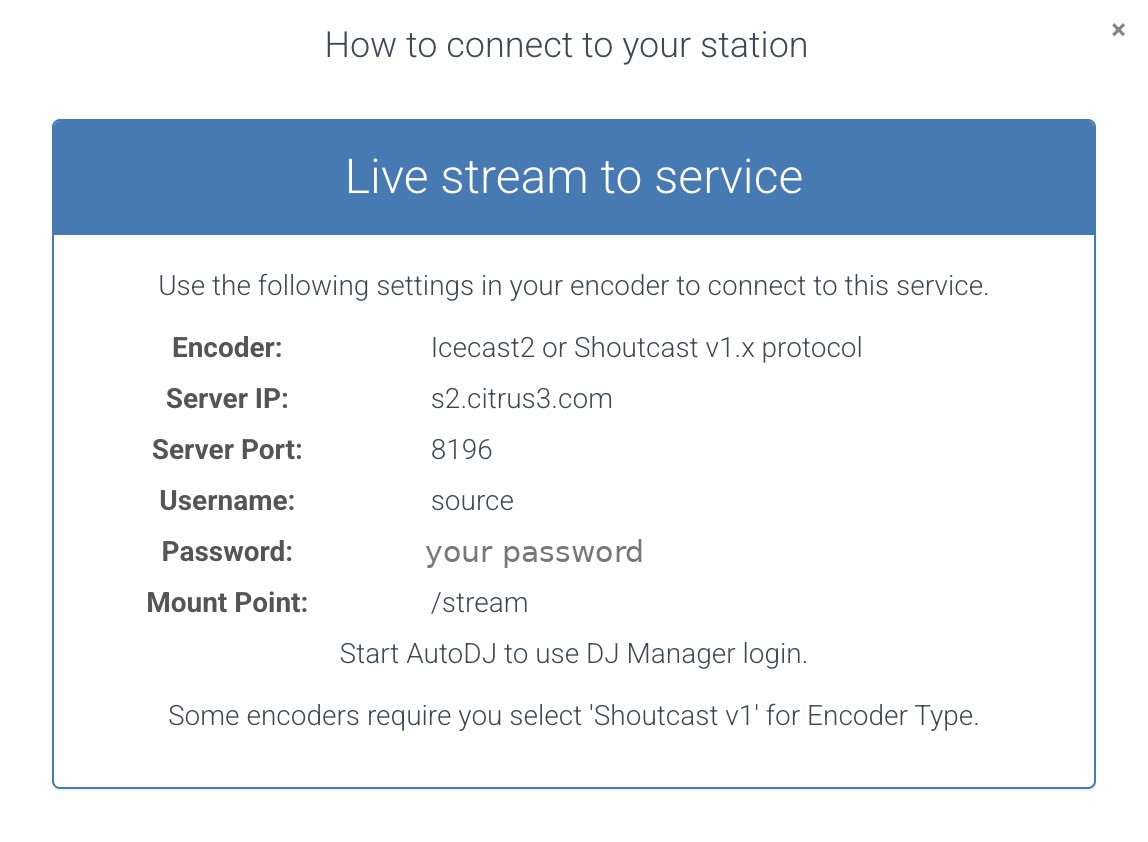
A window opens with your connection details. Keep it open while you set up your software.
| The window shows | What it is, and what your software may call it |
|---|---|
| Server IP | Where your station lives. In your software this may be called Address, Host, Hostname, Server or Server URL. Enter the address only, with no http://. |
| Server Port | The port number. Your software calls it Port. |
| Username | Called Username, User, Login or Encoder username. It is often source, but use the one shown on your dashboard. |
| Password | Your source password for broadcasting. Your software may call it Password or Encoder password. It is not the password you use to log in to the control panel. |
| Mount Point | The stream path. Your software may call it Mount, Mountpoint or Stream path. Copy it exactly, including the slash at the start, for example /stream. |
- The window says Icecast2 or Shoutcast v1.x. Always choose Icecast (or Icecast 2) as the type in your software.
- It also says Start AutoDJ to use DJ Manager login. That only matters if you use separate DJ accounts. Your station’s AutoDJ must be running for those logins to work.
- Copy and paste each value instead of typing it, and keep your password private.
- When you connect, your live broadcast interrupts your AutoDJ programming. When you disconnect, the AutoDJ resumes by itself.
Steps
- Go to radiodj.ro and download the latest version of RadioDJ.
- Run the RadioDJ installer and follow the wizard.
- RadioDJ stores its settings, playlists and events in a database. Install MariaDB, a free database, and when it asks, choose to install it as a Windows service. Set a root password and write it down.
- Open RadioDJ’s database utility. Enter the root password, test the connection and install the RadioDJ database. The first test may show an error even when the database is running, so try again before changing anything.
- Download and install a virtual audio mixer or cable, so RadioDJ’s sound can be fed into your encoder. Voicemeeter Banana and VB-Cable from VB-Audio are popular free choices. Restart your computer afterwards.
- Download and install BUTT from danielnoethen.de. Follow the BUTT guide to install it. You will use it as the encoder.
- Log in to your control panel. On the dashboard, click the How to connect link next to the preview player and keep that page open. You will copy five details from it: the server IP, port, username, password and mount point. The pictures at the top of this page show where to look.
- Open RadioDJ. Go to Options, then Soundcards, and set the main output (Main 1) to your virtual audio input, such as a Voicemeeter virtual input.
- If you use Voicemeeter, route the virtual input to your speakers or headphones (output A1) so you can still hear the show.
- Add your music to the RadioDJ library, and build the playlist or rotation you want to broadcast.
- Open BUTT and add your server, following the BUTT guide. Use the type IceCast and the address, port, password, mount point and username from How to connect.
- In BUTT, open Settings, then Audio, and choose the virtual output that matches the input RadioDJ plays to. Test it: start a track in RadioDJ and check BUTT’s level meters move.
- Optional: in RadioDJ, switch on the Now Playing file output. In BUTT, open the Stream tab and point the song name at that text file, so listeners see the track that is playing.
- Start your playlist in RadioDJ, then press play in BUTT. Your live broadcast now interrupts your AutoDJ programming.
- To finish, press stop in BUTT. Your AutoDJ resumes automatically.
Settings at a glance
| Setting | What to enter |
|---|---|
| Encoder | BUTT (type IceCast) |
| Address / Port | Your server IP and port from How to connect |
| Password / user | Your source password and username |
| Mountpoint | Your mount point, starting with a slash |
| Codec / bitrate | mp3, up to your plan |
| RadioDJ output | A virtual audio input (Voicemeeter or VB-Cable) |
| BUTT input | The matching virtual output |
Older versions of RadioDJ
RadioDJ 1.8.2 and earlier could stream through an encoder plugin such as AltaCast, installed inside RadioDJ. Newer versions use an external encoder as described above. If you have an older version, the encoder fields are the same ones listed in How to connect: server, port, password, mount point and username, with the type set to Icecast and the format set to MP3.
Keep the music flowing
While RadioDJ is connected it replaces your AutoDJ, so make sure its playlist or rotation is long enough to avoid silence. Build in jingles and voice breaks the same way you would on the AutoDJ.
Check that it is working
Open your radio page, or press play on the preview player on your dashboard, and listen. Expect a delay of a few seconds between what you do and what you hear, because every internet stream has some. For the most honest test, listen on a phone over mobile data. If you can hear your show, you are live, and your AutoDJ is paused until you disconnect.
Troubleshooting
- BUTT shows no signal. RadioDJ is probably playing to a different device. Check the RadioDJ soundcard setting and the BUTT audio device match the same virtual cable.
- RadioDJ will not start or cannot find the database. Check the MariaDB service is running, then test the connection again in the database utility.
- I can hear nothing in my own speakers. Route the virtual input to your speakers in Voicemeeter, or use a mixer to monitor.
- It will not connect. Open How to connect again and compare every field character by character, or copy and paste each one. The server must be entered as an address or IP only, with no
http://, and a mount point must begin with a slash. - It says the password is wrong. Use the source password shown in How to connect, not your control panel login password.
- It connects but listeners hear nothing. The program is sending silence. Check that the right input is selected, that the level meters move, and that nothing is muted.
- The audio stutters or drops. Your upload connection is the usual cause. Close video calls, cloud backups and other uploads, use a cable instead of Wi-Fi, and try a lower bitrate.
- The audio sounds too fast, slow or distorted. Make the sample rate the same everywhere (44100 Hz is the safe choice) and keep your levels out of the red.
- My AutoDJ did not come back. Make sure the program has fully disconnected, then wait a short while. If the station is still silent, email support@citrus3.zendesk.com.
- RadioDJ replaces your AutoDJ while connected, so keep it playing to avoid silence on your stream.
- Choose a bitrate your plan allows.
When you stop broadcasting, your AutoDJ continues the programme.
Need a hand?
We typically reply within a few hours on weekdays (9:00 AM to 5:00 PM UK time).
Contact usNext guide: Broadcast live with LadioCast on a Mac