AutoDJ should be the first feature you set up to bring your station online. It broadcasts from the cloud, so you do not need any software. You upload your music or shows through the control panel, and the service handles the broadcasting.
Before you start. The short version. Media: upload your MP3 files. Playlists: create a playlist, add your tracks and save. Overview: switch On Air on, then click Source and choose Start AutoDJ. The pictures below show every click. Your control panel is MediaCP, which is white-labelled for Citrus3, so menu names and some options may look slightly different on your plan. Before you upload, check your files’ metadata: the title, artist and album are what listeners see, and they are also used to find album art.
Steps
- Log in to your control panel with the username and password from your welcome email.
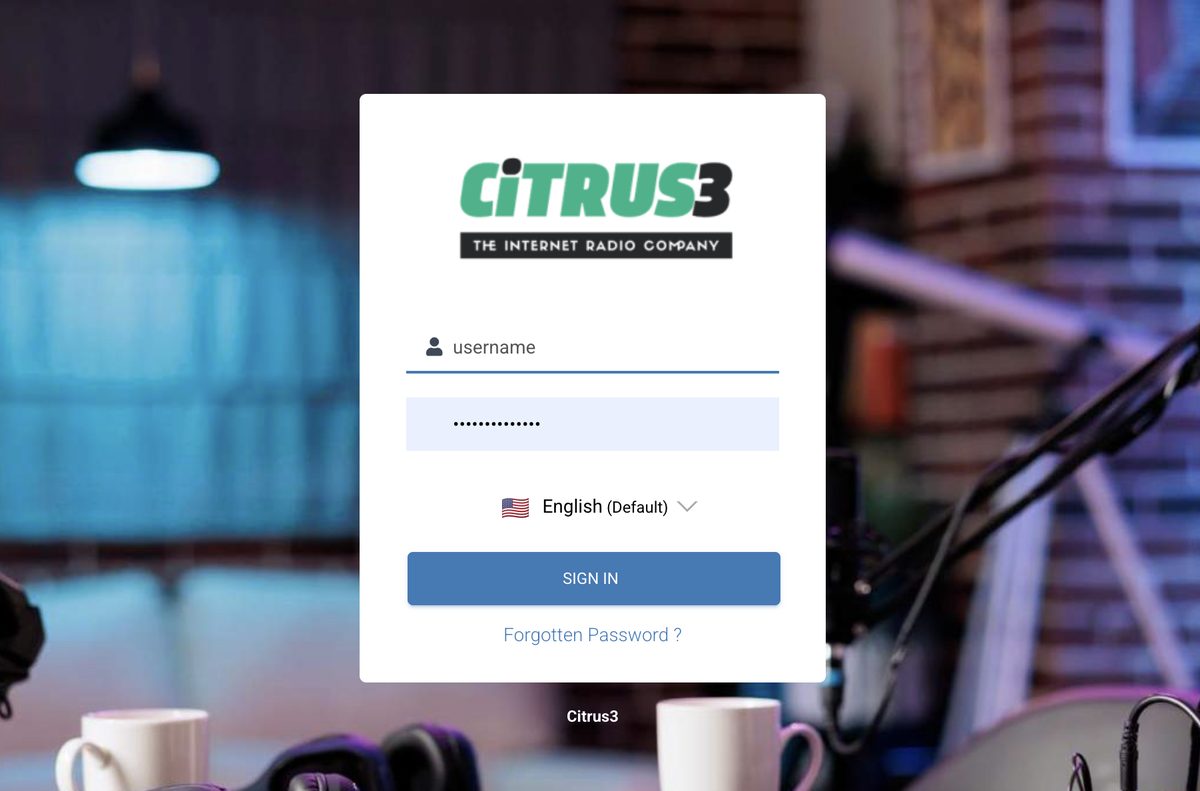
The control panel login screen. - In the menu on the left, click Media.
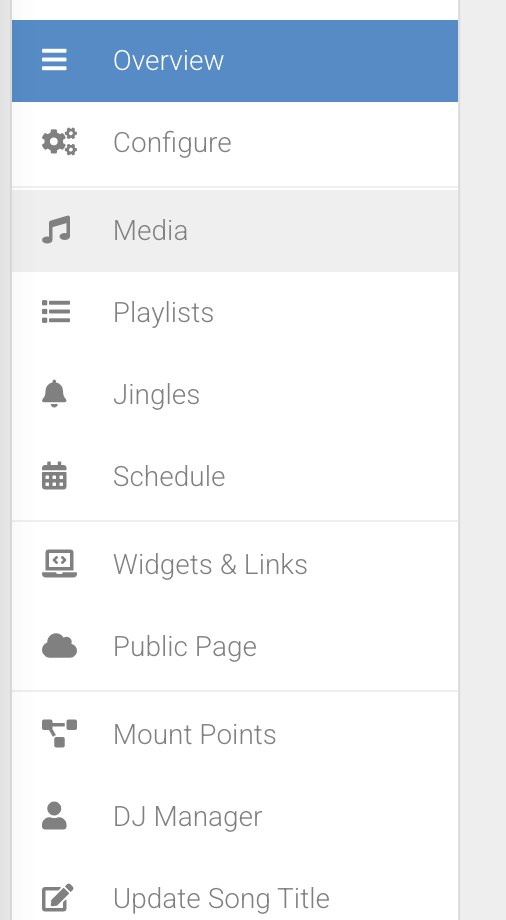
The menu on the left. Media is the third item. - Click the cloud upload icon at the top right of the Media page. The icon next to it, with a plus sign, creates a folder.
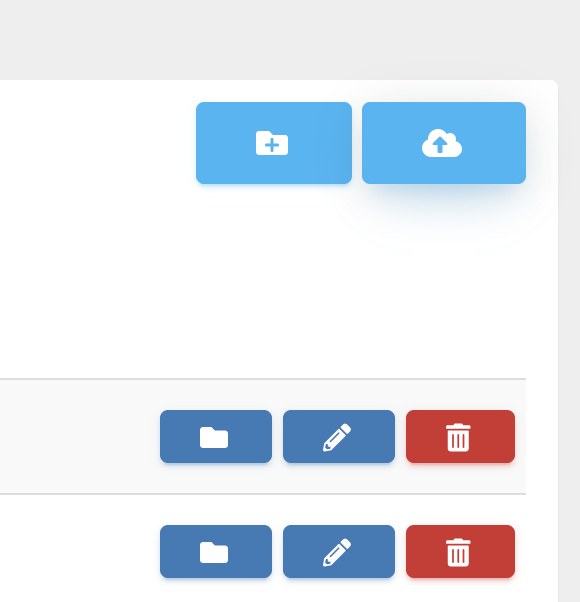
The cloud icon on the right is the upload button. - Click Select Media and choose the MP3 files you want to upload, or drag and drop them from your computer into the browser window. Wait until every file has finished uploading. The time depends on how much you are uploading.
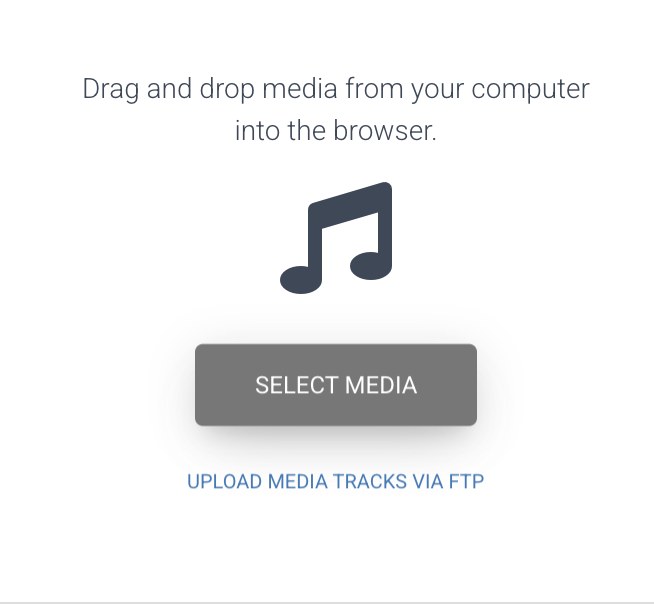
Click Select Media, or drop your files here. - Your music is now in your library. In the menu on the left, click Playlists.
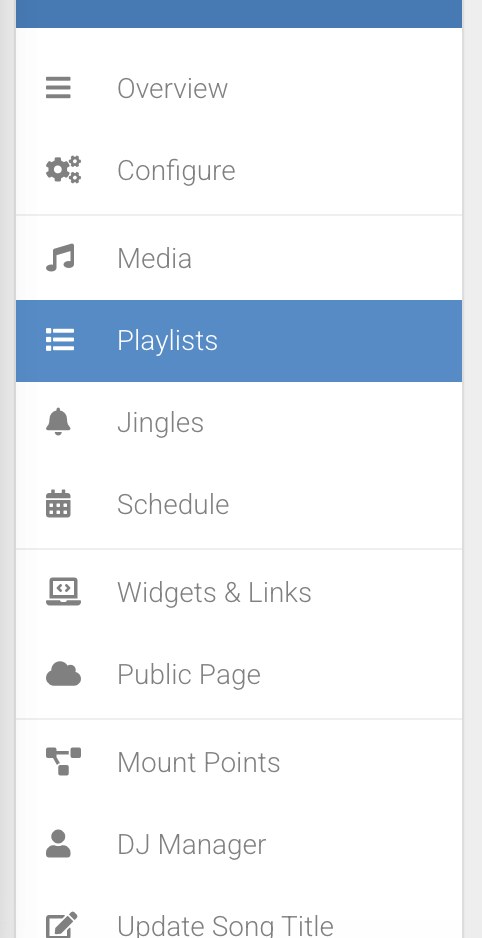
Playlists is the fourth item in the menu. - Click + Create Playlist at the top right.
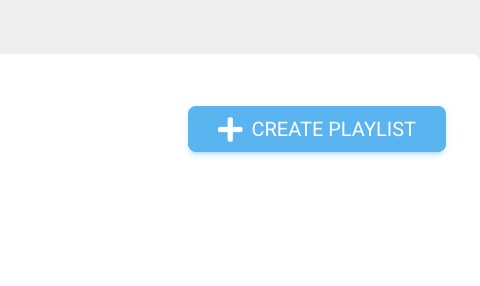
The Create Playlist button. - Under Title, give your playlist a name, such as “Main rotation”, then click Save. The General, Schedule and Repeat protection tabs can wait until later.
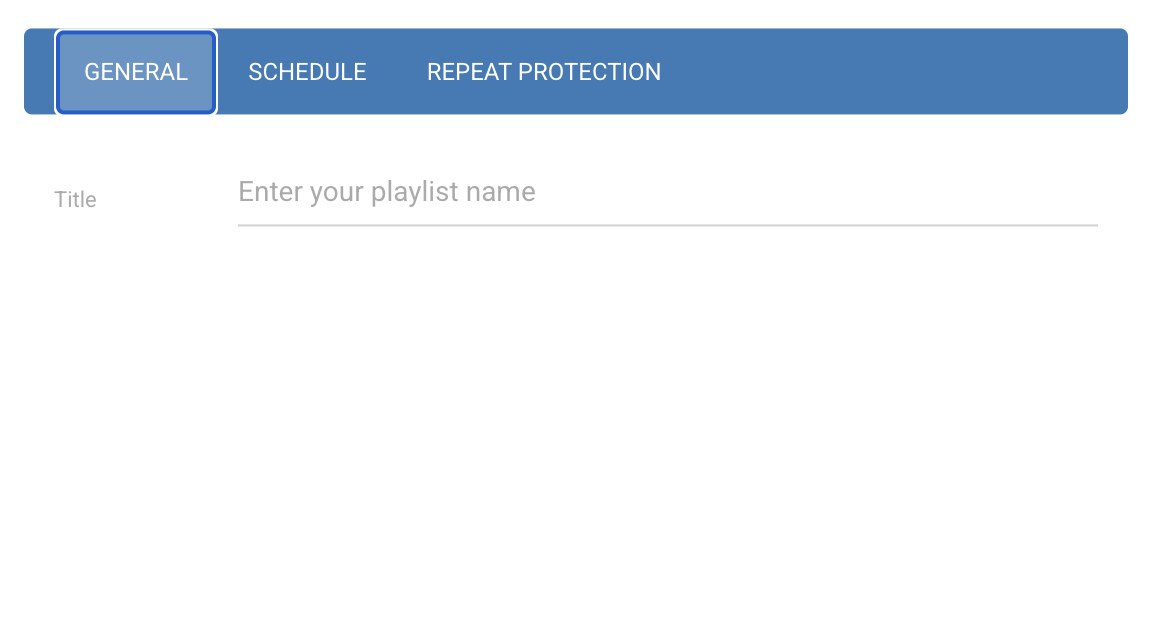
Enter a name in the Title field. - Back in the list of playlists, click the music note icon beside your new playlist. This is where you add your tracks. The pencil edits the playlist settings, and the bin deletes it.
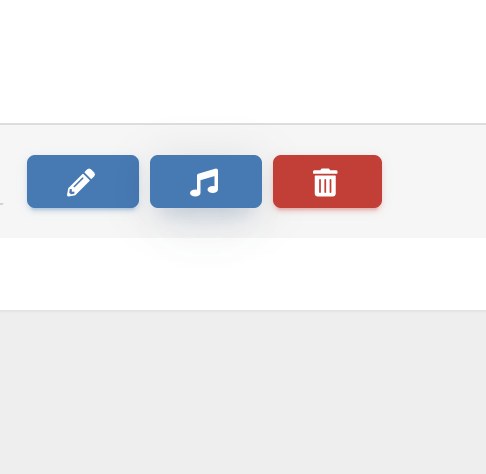
The blue music note icon opens the playlist’s tracks. - Your library appears on the left and your playlist on the right. Select the tracks you want, then drag and drop them from the Media list on the left into the playlist on the right. You can also click the + next to a track, or tick Select All to add everything. Then click Save.
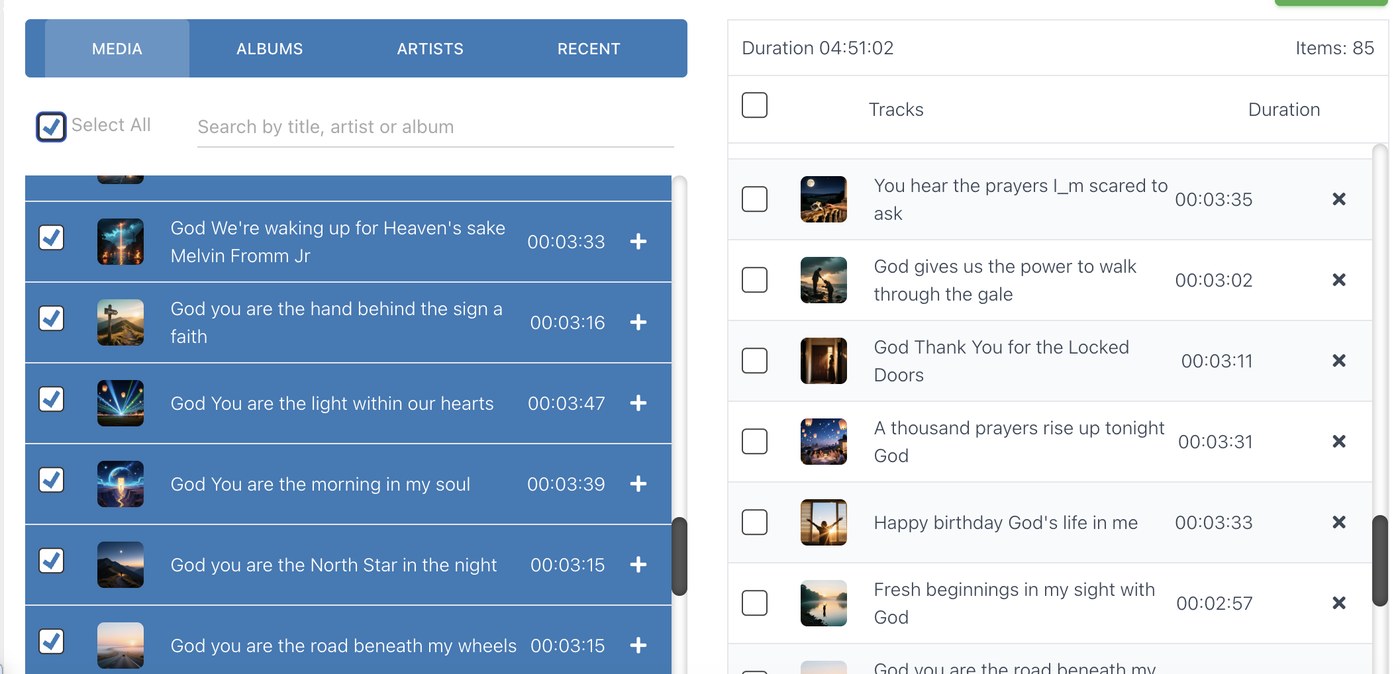
Media on the left, your playlist on the right. The right side shows how many tracks and how much time you have added. - Click Overview in the menu to return to the dashboard. Switch the On Air toggle on to start your server. Then click the Source button and choose Start AutoDJ. When it is running, the button reads Source: 24/7 AutoDJ, as in the picture. Your station is now broadcasting.

The On Air toggle starts the server, and the Source button starts the AutoDJ.
Managing your media
- File types. The AutoDJ plays MP3 and AAC files.
- Folders. Create folders to keep a large library tidy, and move tracks and folders between them. You can drag whole folders from your computer to upload many files at once.
- Search. One search box finds tracks by title, artist or album. You can narrow a search to one field, and click an artist or album name to find everything else with the same value.
- Edit details. Use the pencil icon, or right-click a track, to correct its title, artist and album, and to upload cover art that listeners see while the track plays. You can also add an ISRC code, which appears in your reports.
- Shared library. Your storage is shared across all the stations on your account, so a track uploaded once is available to each of them.
- Keep your own copy. Treat the library on the server as a working copy and keep your original files somewhere you control.
The three kinds of playlist
- General rotation. The background programming that plays whenever nothing is scheduled. The AutoDJ needs at least one, because without it even a short gap between scheduled events can take your stream offline.
- Scheduled playlists. Shows you place on the calendar at exact times. See how to schedule a show.
- Jingles. Station IDs, announcements and adverts that play between tracks at intervals. See how to set up jingles and ads.
A playlist must contain at least one track before you can start the AutoDJ or schedule it.
Setting up general rotation
- Create a playlist, then tick the General Rotation option for it.
- Set the weight. When you have several rotations, the AutoDJ picks between them at random, and a higher weight means that playlist is chosen more often.
- Choose the playback order: shuffled or in order.
- Open the advanced settings with Create playlist or the pencil Edit button. Under Play hours you can limit a rotation to certain times, such as a calm rotation for late evening. The default is all day.
Folders can be added to a playlist as well as single tracks. A folder named for a theme, such as “Morning show”, lets you change what is inside it without editing the playlist. For the best performance on a large library, we still recommend adding individual files.
Repeat protection
Repeat protection stops the same track, or another track from the same album or artist, from playing again too soon. The default is 10 minutes for each of track, album and artist, and it can be based on time or on a number of plays. You can set it on each general rotation, jingle playlist and scheduled event. It also covers the whole station, so something that just played in your rotation can be skipped when it comes up in a scheduled show. If scheduled content does not play, check repeat protection first. Note also that each uploaded copy of a track counts as a separate track, so a duplicate upload can repeat.
Crossfade and volume
If your control panel shows AutoDJ crossfade settings, these are the options and what they do.
| Option | What it does |
|---|---|
| Fade-in / Fade-out | How long each track fades in and out. Set both to 0 to switch crossfade off. |
| Smart Crossfade | Adjusts the transition automatically, and skips a fade-out when a track already fades out by itself. |
| Minimum threshold | Crossfading applies when the next track is shorter than this value. Set it to 0 to apply transitions to every track. |
| Crossfade cross length | The overlap in seconds, used when Smart Crossfade is off. It should be at least the fade-in and fade-out added together. |
| Replay gain | Evens out volume using the replay-gain tags in your files. It affects every track on the AutoDJ and uses more processing. |
Intro, backup and fallback files
- Files for these uses go in the /intro folder of your media.
- Match each file’s sample rate, channels and bitrate to your stream, or it may not play correctly.
- An intro file is a short clip played to listeners when they connect, where your service supports it. A fallback is a track or mount point that listeners move to automatically when their main stream loses its connection.
- These options depend on your service and plan, so look for them under your station’s configuration and mount point settings.
Starting and stopping the AutoDJ
The AutoDJ must be running for general rotation and scheduled playlists to play. From Overview, click the source status button and choose Start AutoDJ. When a live DJ disconnects, the AutoDJ takes over again, as the live broadcasting guides explain.
Troubleshooting
- Nothing plays. Check that the playlist has at least one track and that the AutoDJ is started.
- Scheduled music is skipped. Repeat protection is the usual cause. Review the settings on the event and on its playlist.
- The wrong track plays. Check the playlist order, shuffle setting, rotation weights and play hours.
- Silence between shows. Make sure at least one general rotation is switched on and has plenty of tracks.
- Titles or artwork look wrong. Edit the track’s details in the media library.
- The AutoDJ will not start. Email support@citrus3.zendesk.com and tell us what you see.
- Add individual media files to the playlist, not entire folders. It gives the best performance.
- Check your files’ metadata before uploading, because listeners see it.
- Keep at least one general rotation running, so there is always something to play.
Your station is now online and broadcasting 24/7 through AutoDJ. Listeners can tune in with their player or through the Public Page, which opens your radio page. The sections below explain how to manage your media, tune your rotation and add jingles and scheduled shows. Now start sharing your station.
Need a hand?
We typically reply within a few hours on weekdays (9:00 AM to 5:00 PM UK time).
Contact usNext guide: Set up your Citrus3 radio page