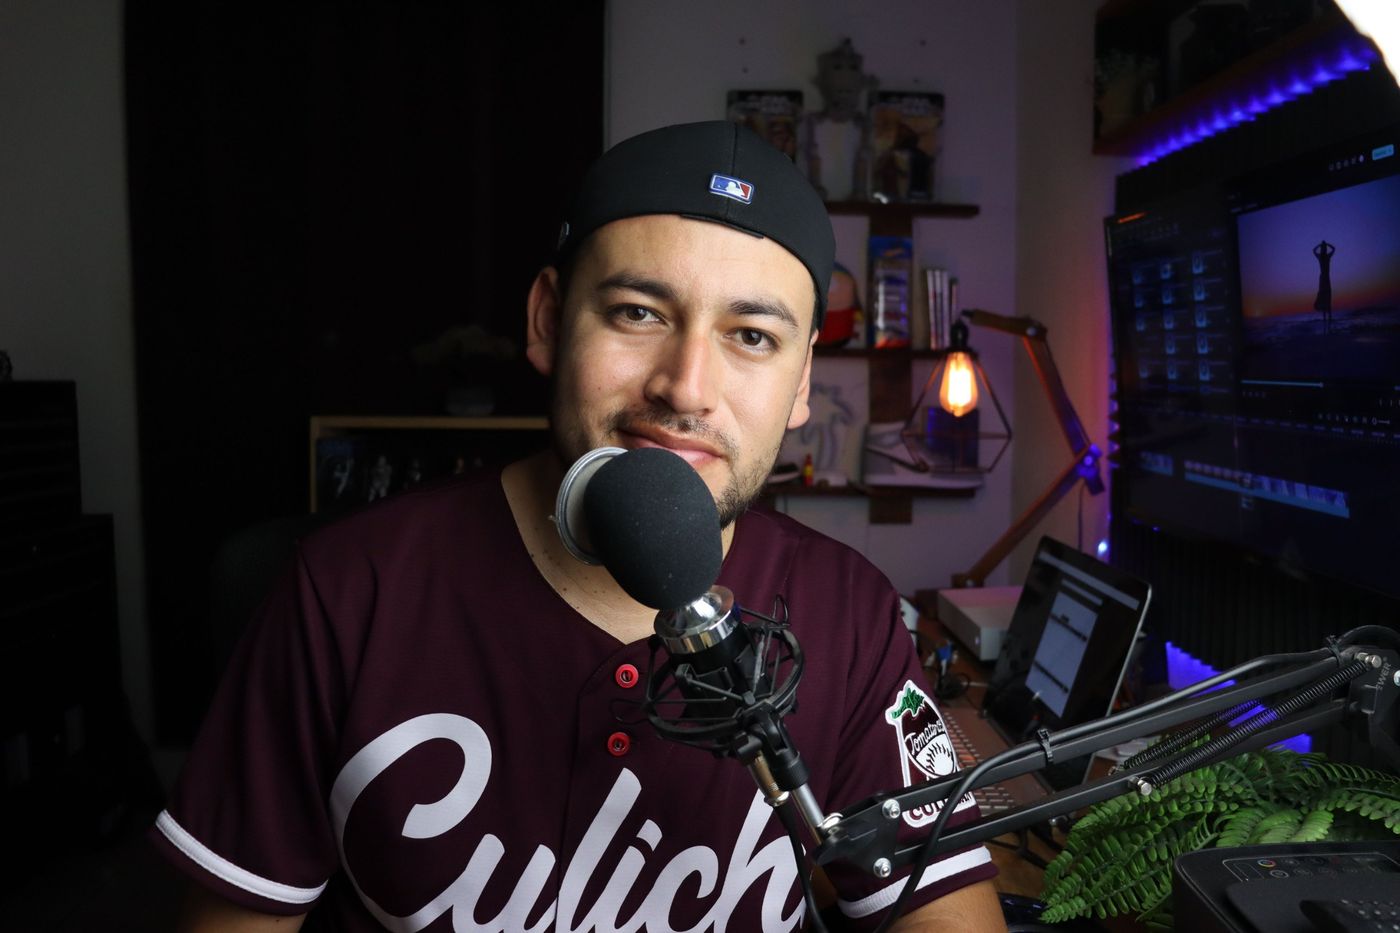
Going live feels technical until you see the shape of it. Your microphone and music go into software on your computer. That software sends one audio stream to your host’s server. The server sends it to every listener. Everything else is detail.
Step 1: Get your connection details
In your control panel you will find a server address, a port, a password and sometimes a mount point or a username. Keep these open or copied somewhere safe, because you will enter them in your software.
Step 2: Choose your broadcasting software
Pick a program that suits you. BUTT is a simple tool that streams the audio input you choose, such as a microphone or mixer. Mixxx is a full DJ package. Winamp with an Icecast plugin is a classic choice, and you can add your voice with the microphone guide.
Step 3: Enter the details and set the quality
Type in the server, port and password, and choose a bitrate your plan allows. If you are not sure which to pick, read stream quality explained.
Step 4: Set up your audio
Select your microphone and, if you play music, your music player or deck as inputs. Speak and play a track, and watch the meters. Aim to peak comfortably below the maximum so nothing distorts.
Step 5: Connect
Press the connect or start button. A status message or a counting timer will show it is working. Open your radio page on a phone and check that you hear yourself, with the delay of a few seconds that every stream has.
Step 6: Talk, play, and keep an eye on it
Watch your levels, speak clearly and keep an ear on the stream itself rather than only your own monitors. If something sounds wrong on the stream, fix it there.
Step 7: Finish cleanly
When your show ends, say goodbye, wait a moment, then disconnect. If you have an AutoDJ, it will take over and keep the station running. If you hit problems, see common streaming problems and how to fix them.